Aim
By the time you’ve finished this project, you’ll have in your possession your very own educational game, filled with useful facts, and videos starring your own students. The aim of this project is to engage your class in a way which they’ll find enjoyable, and to teach them about history through multiple platforms, whilst also allowing them to become engrossed in the historical site itself. This process has been streamlined and simplified in order to be as stress-free, and accessible as is possible, whilst also leaving you and your students with enough creative freedom to make a game that is truly fun and unique.

Step 1
You will need to download the following resources from the website, or provide your own. If you have purchased our premium edition, then these assets will be sent to you physically.
1). Your resource pack, filled with interesting facts about your chosen topic.
2). Grid plans for your site of choice.
3). Props for your videos.
4). Materials to build your site model.
OR
An alternative way to build 3D models.
You will also require recording equipment, and most importantly; a can-do attitude! Don’t worry about buying an expensive camera, as a simple phone camera, or something low-cost will do the job just fine. No one will be expecting your videos to be of professional quality.
Step 2: Making your videos.
Read through your resource pack, and decide which stories and characters you, and your children, would like to focus your story on. You may want to pick an existing story, or to create your own. The National Heritage sites all have rich and wonderful histories, so you and your students will have an abundance of content to choose from!
Figure out which locations, throughout your site, will cause the videos to pop up. You have nine videos to show, so make sure that you have enough trigger spots at your site of choice. These “trigger points” are the real life locations that will cause the videos to play in-app, once your game has been completed.
Each location will have a different video, and part of the story, so once you are happy with you choices, begin the storyboarding, and script writing processes. Making sure that your students are happy with your choice of story, and try and make sure that they are both fun and informative.
Once you and your students are happy with your concepts, begin work on making the videos themselves. For efficiency’s sake, we recommend each video be 1-2 minutes long. Don’t worry about making them high-quality or professional, as the goal here is for the children to learn whilst having fun.

Step 3
If you’re making a physical model:
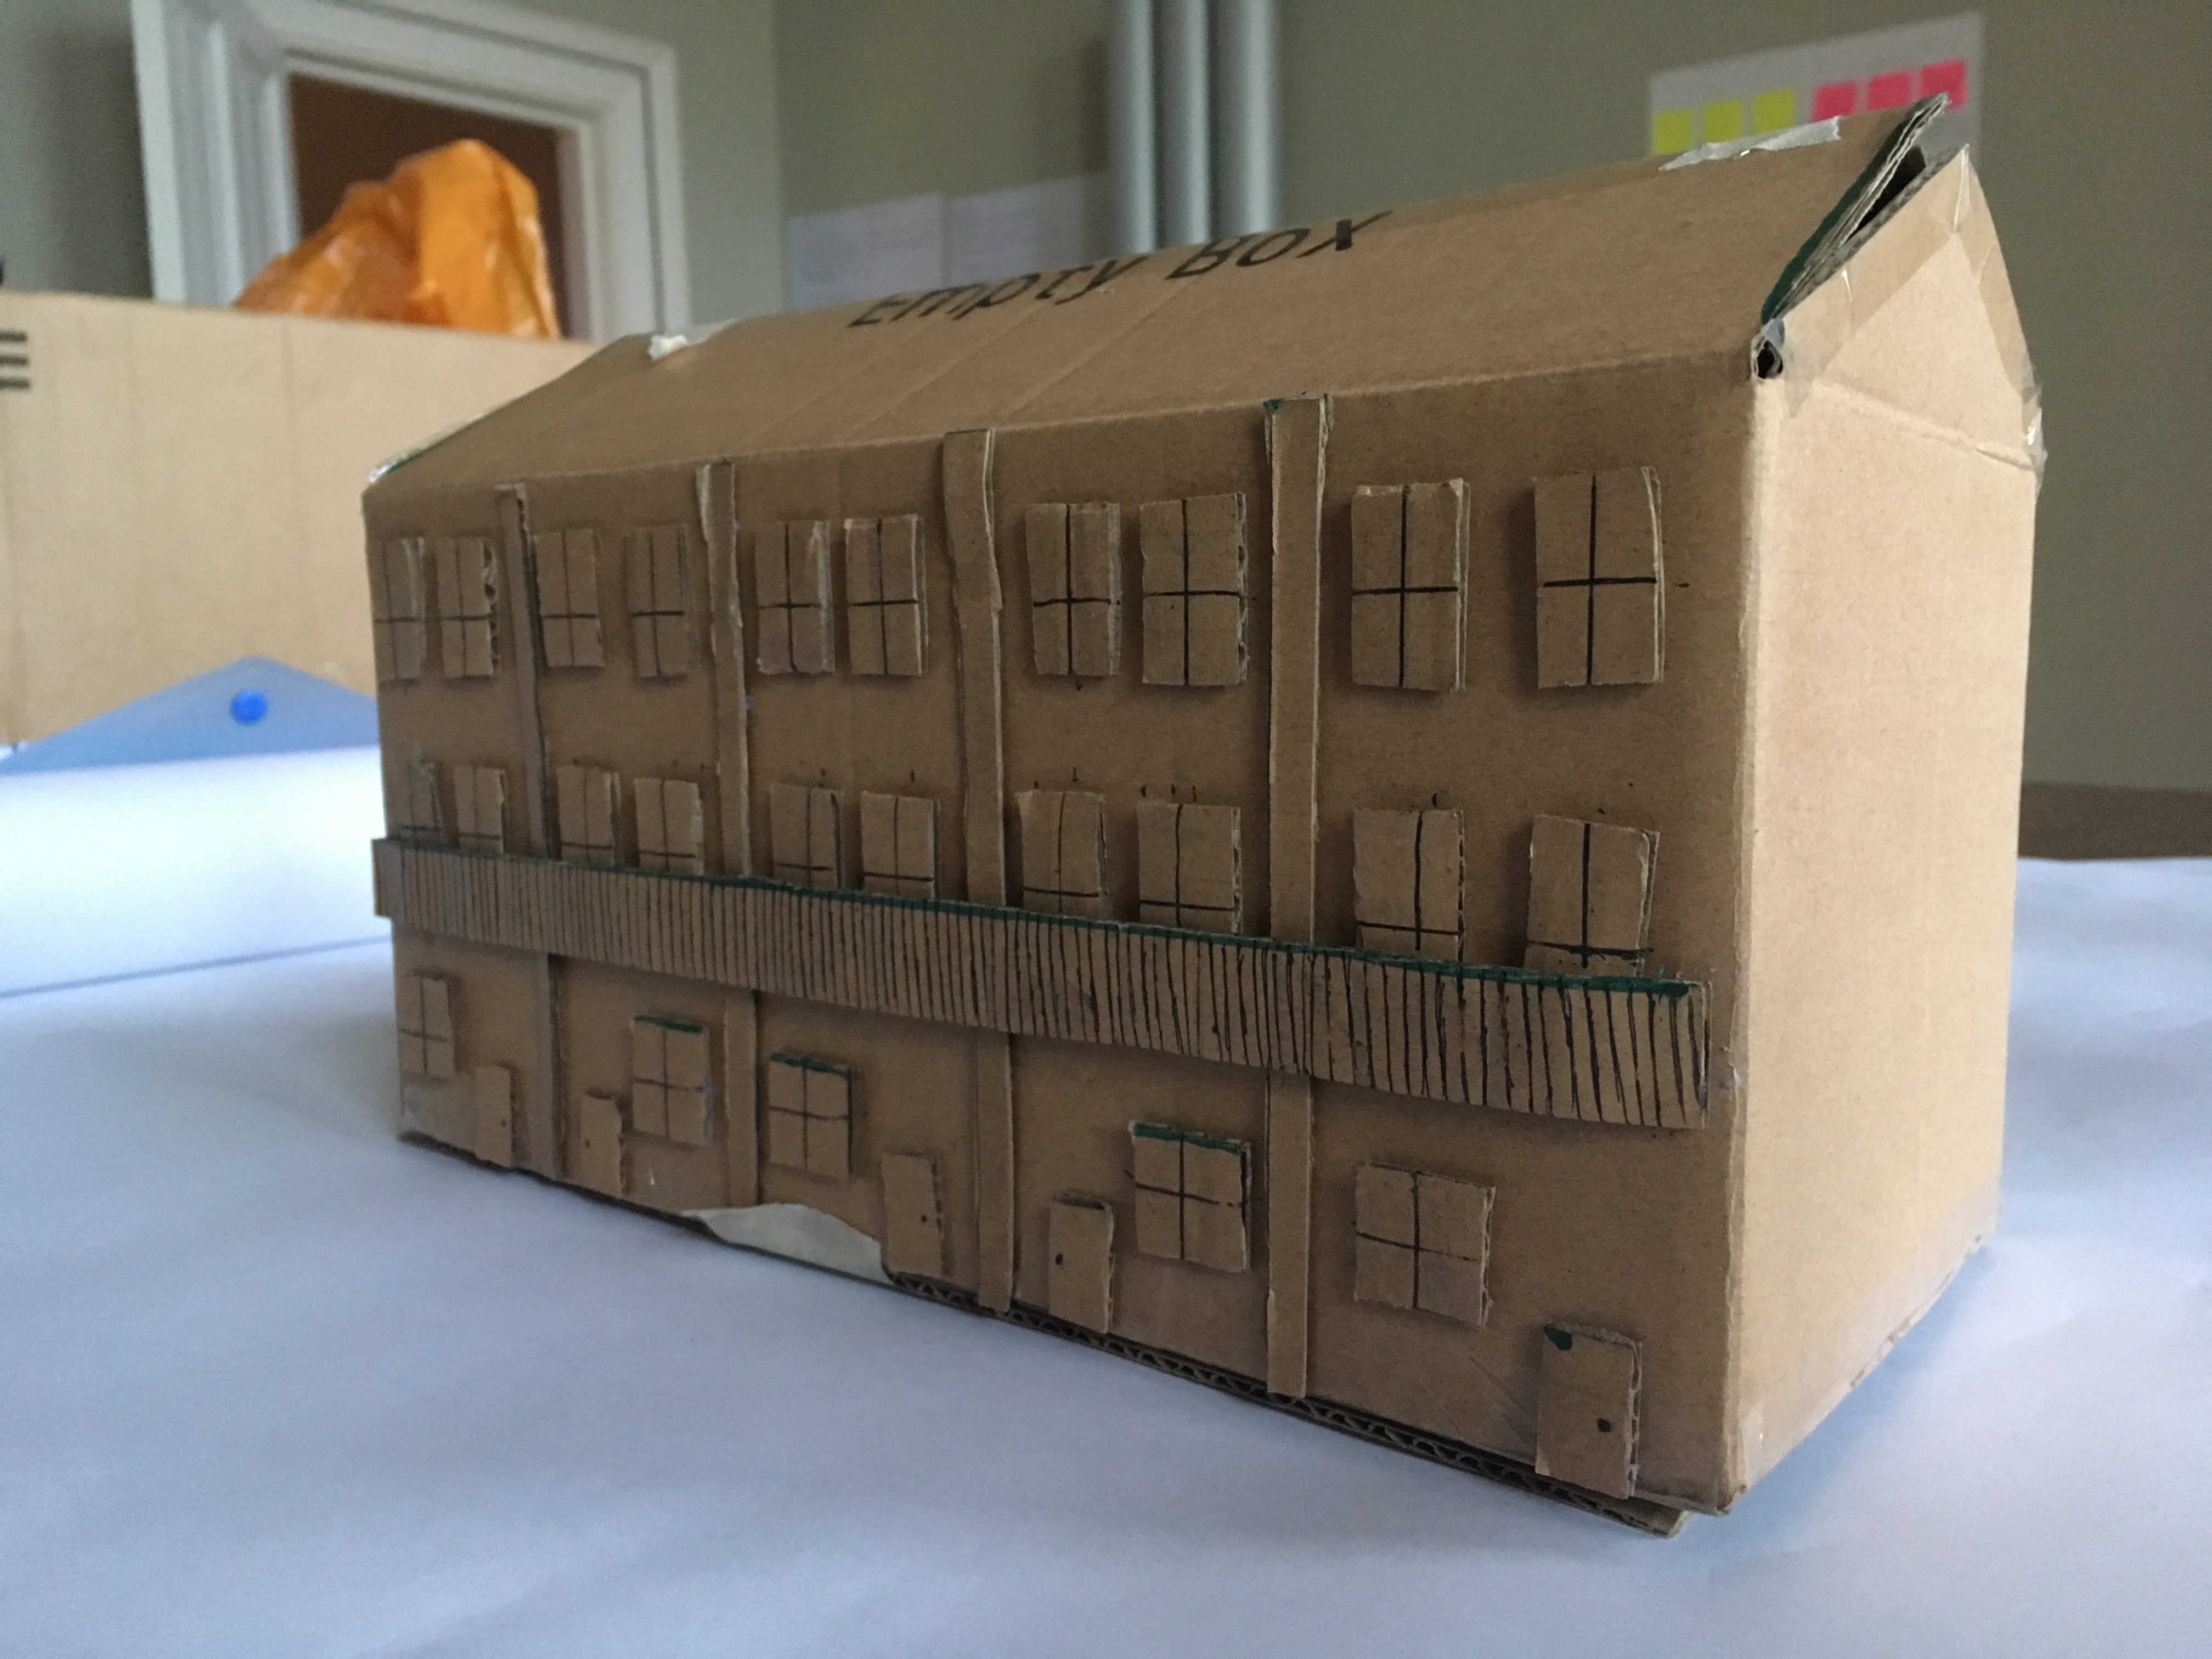
Using your own materials, work on creating the model for your site of choice. You will need to make sure that you have access to some form of photogrammetry app to scan your physical model into the game. Check out our website for a list of recommended (free) apps.
If you’re making a virtual model:
You will need to make sure that you are able to export your model into Arty Facts, and that the software you’re using is compatible with our game engine. A compatibility list can be found on our website.
Step 4
At this point you should have a completed set of videos, and your 3D digital model. You will now need to import it into the game. A step-by-step guide to this process can be found on our website.
Assign the videos to their respective locations, and then click ‘generate‘.
You’re good to go!

